Layer Mask Tool
Layer Mask Tool
With the Layer Mask tool in Photoshop, you can layer images on top of one another in really interesting ways. Here are some examples of what you can do with the Layer Mask.
After pasting two images into a file, you can activate the Layer Mask for the layer on the top.
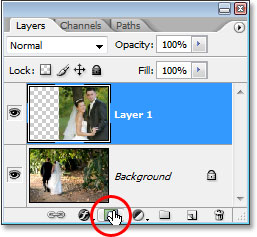
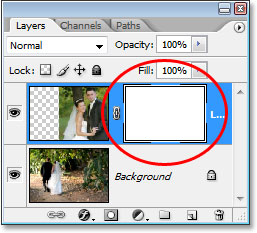
The Layer Mask is on the bottom of the Layers Panel. When you click on it, a white box will appear on the layer- that is your Layer Mask.
Using the Brush tool, you can either take away or add back to the image layer.
Black- takes away
White- brings back
White- brings back
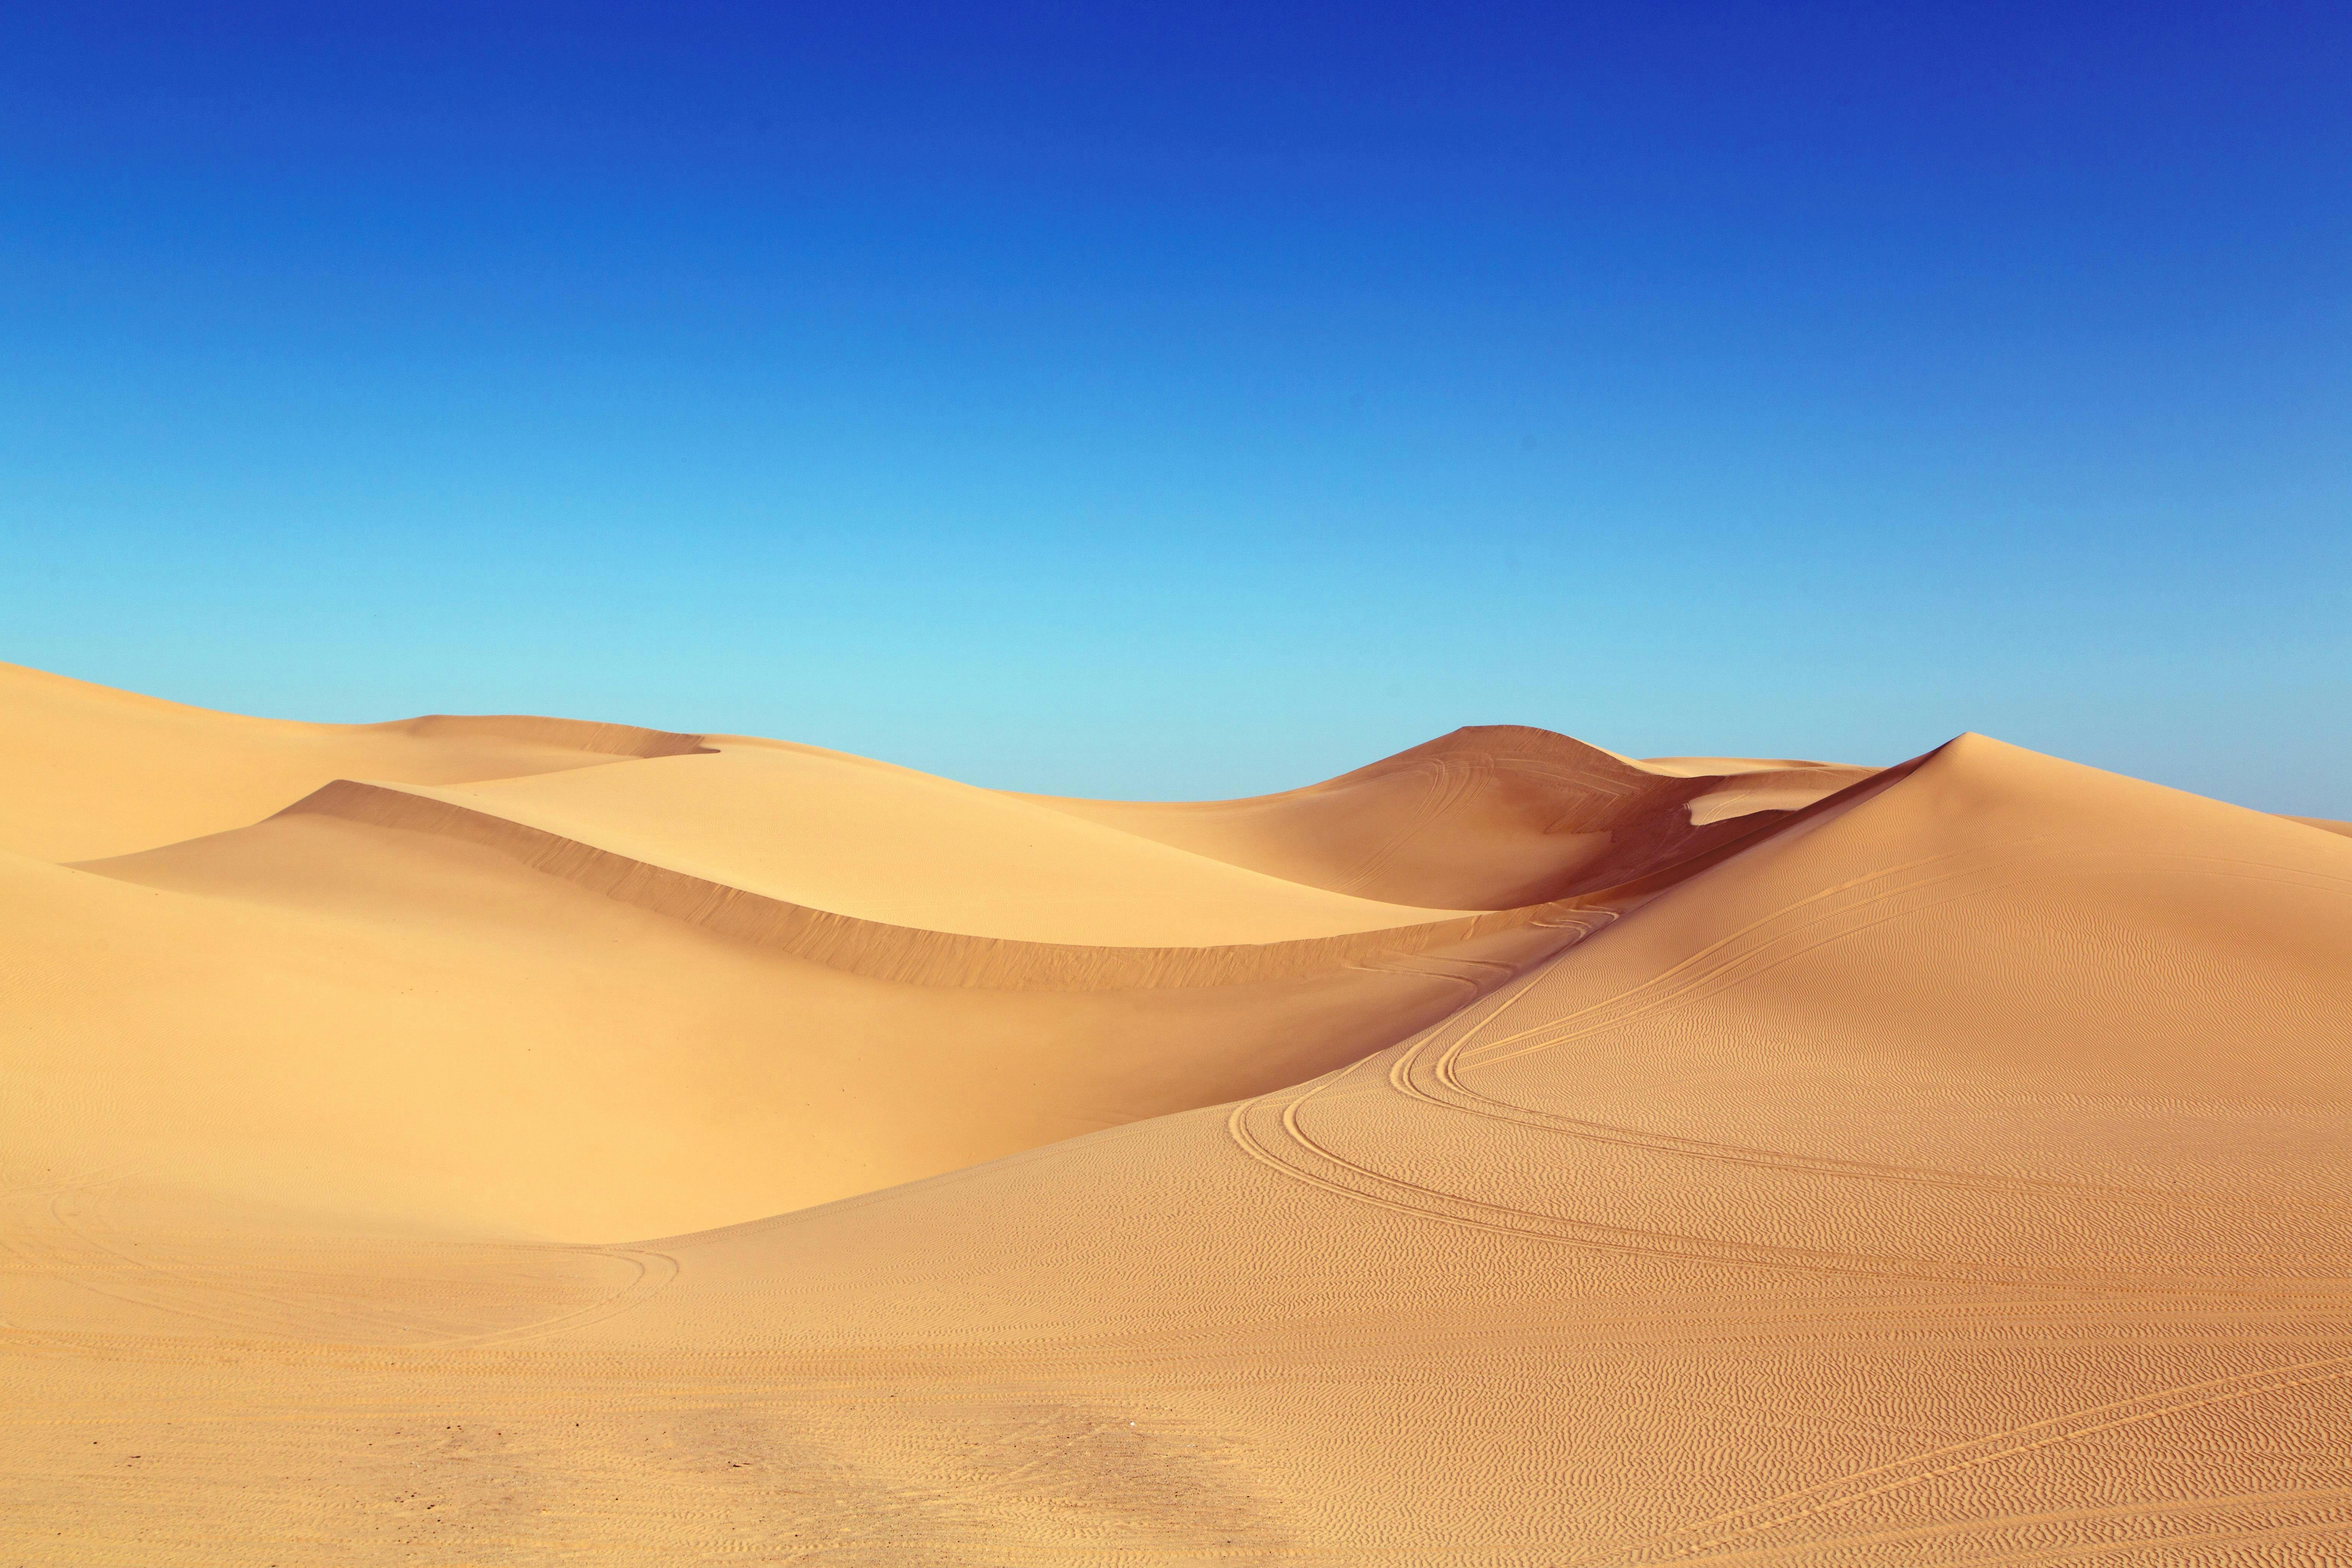
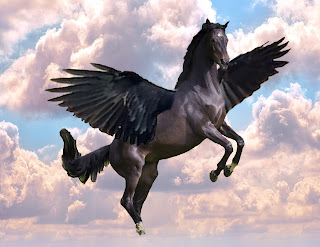
Here are some images you can try using with the Layer Mask Tool. Think about what you want to add to the image- fire, water, galaxy, another person, etc. You can do anything!!
If you would like, you can find other images to use.




Wow, So amazing information share this post. Actually i have image masking service website and this post are so help me improve for my work. I appreciate you sharing this blog article.
ReplyDeleteWow, So outstanding details share this blog post. Really i have image masking service web site and also this blog post are so help me enhance for my work. I value you sharing this blog site article.
ReplyDelete