Making Our First GIF
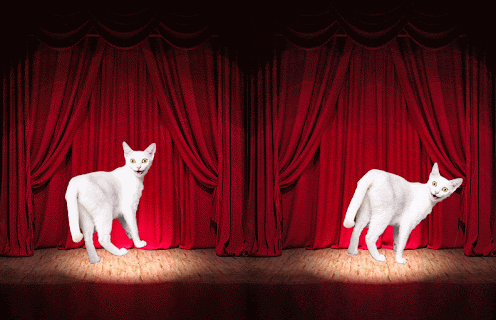
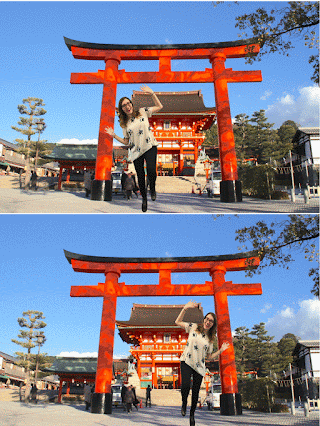
- Open Photoshop and go to New- File
Height: 4 inches
Width: 6 inches
Resolution: 250- 300 pixels/inch
- Find a background that you want to use on Google and paste it into the file in Photoshop
CTRL-V to Paste
CTRL-T to Resize/Transform the image
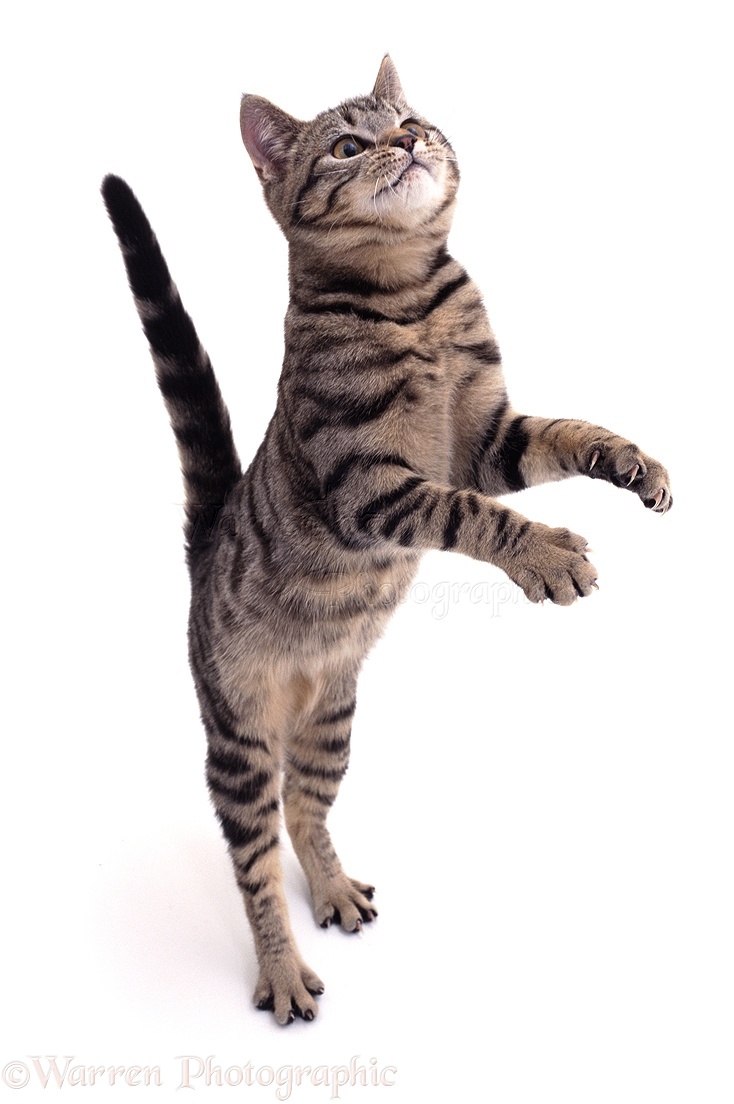
- Paste in the subject that you want to use (the picture of me or the cat)
- Arrange the image as you want the GIF to start out- consider the size and placement of the image
- File- Save the image first as a .PSD and then File- Save As as a .JPEG
Describe the action and add 1 at the end (this is the first image of the GIF sequence)
Ex: Dancing Cat 1
Ms. W Dancing 1
- Now move the figure in some way. You can move it, rotate, change it size, etc.
- File- Save As
The Title it the same as the last one but change the number from 1 to 2 (this is the second image of the GIF sequence)
Ex: Dancing Cat 2
Ms. W Dancing 2
- Open up the GIF Maker site HERE and upload your photos in. Make sure that it is number order!
- When done making your GIF, press "Create GIF" and then "Download GIF"
- Post it on your blog!

Comments
Post a Comment