Making a Selective Color Image
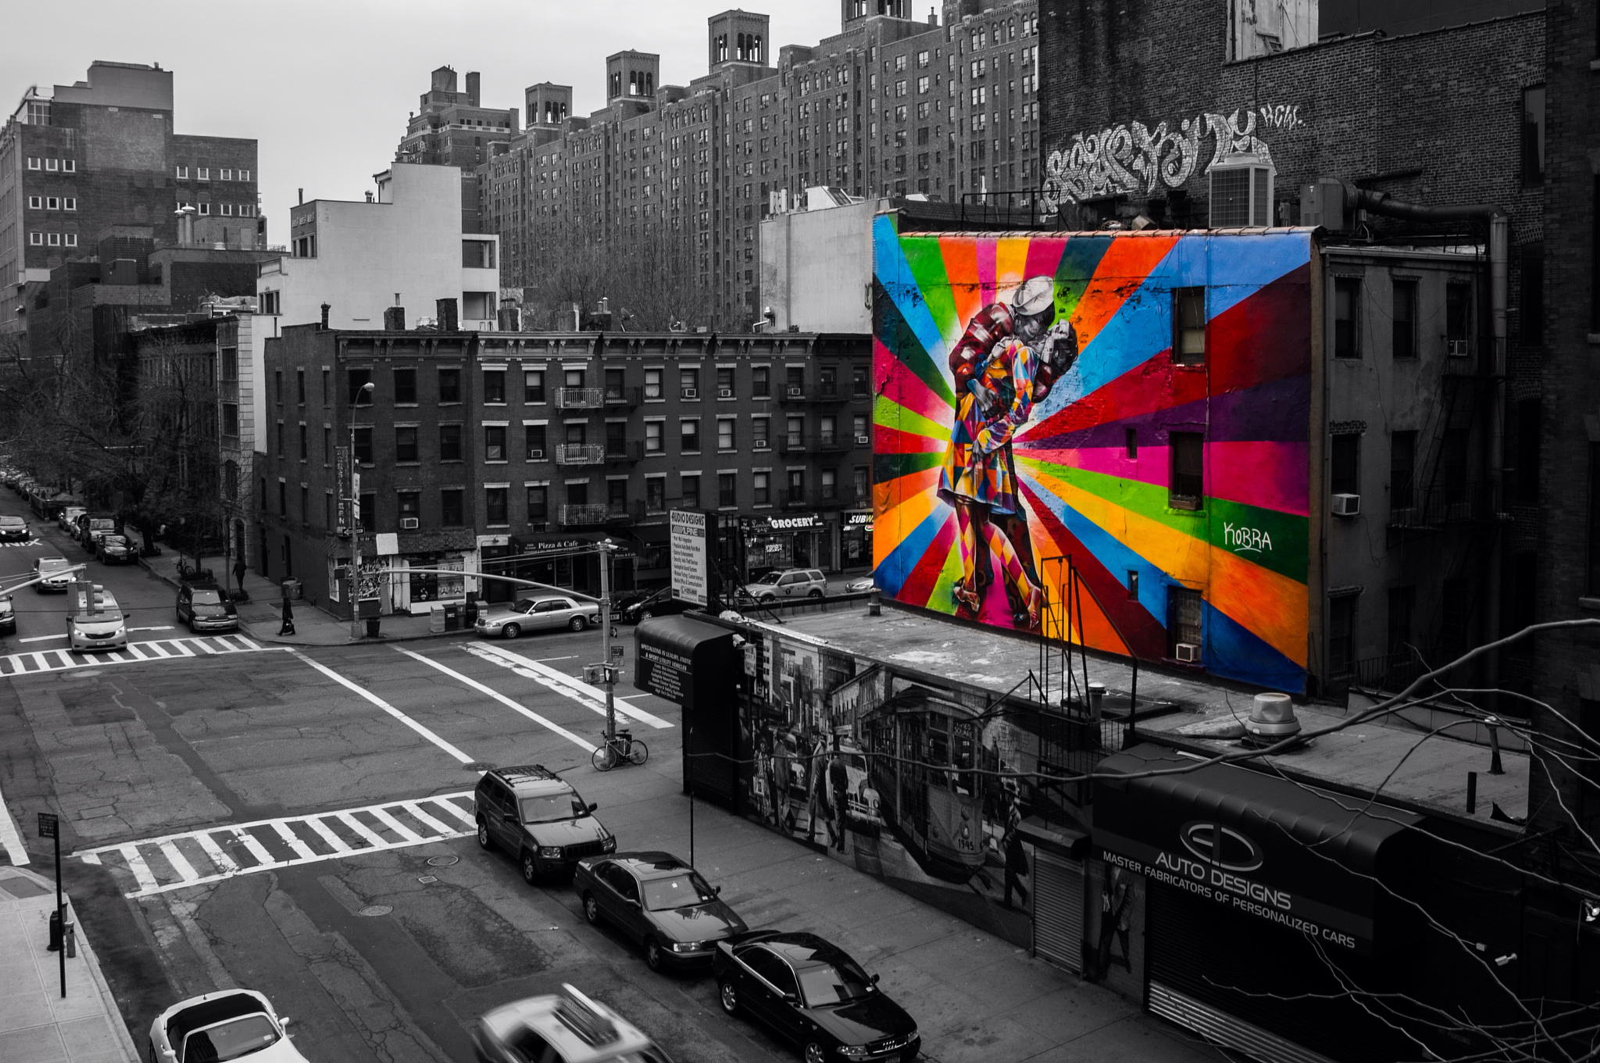
Have you ever seen an image like this? Everything is black and white, except for one specific part of the image- in this case, the street art. This is called Selective Color.
Selective Color is when you choose one specific color (or a part of an image) to keep in color while turning the rest of the image black and white. It seems complicated, but is actually quite easy.
Directions:
Step 1- Select an image that you want to try selective color on. In this photo, I want only the blue umbrella to be in color. Open the image in Photoshop.

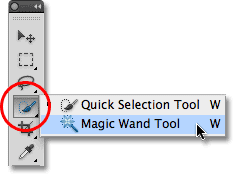
Step 2- Use a Selection Tool (Quick Select or Magic Wand) to select the color you want to keep. Make sure you select all of the color!
Step 3- Go to the top to Select- Inverse.
This will reverse or switch your selection. Now, instead of the umbrella being selected, everything else is selected.
Step 4- Go to Adjustments & click on the Black and White option.

Tadah! You're all done!

_ _ _ _ _ _ _ _
Assignment: Do selective coloring on 4 images! Post the images on your class blog.
**By next class, email me your favorite image that you have made all year to be printed**


Comments
Post a Comment