Photoshopping Your Zentangle
To open your zentangle in Photoshop, go up to the top of the page to File-Open
Find your Folder and then open your zentangle image.
Awesome! You have your image up and ready to edit!
The first thing we are going to do is Crop the image.
The Crop tool looks like a square with a diagonal line through it.
When using the Crop tool, you are making a box around what you want to keep. Now, lets crop our zentangle, getting rid of everything the outside of the box we drew in. When done making your crop, click ENTER or the Check Mark on the top right of the screen.
Once the image is cropped, we are going to work on cleaning up some of the image. If I were to zoom in to the image, I notice some stray lines/marks in the images. I want to get rid of those.
Before we paint anything though, we need to make sure we match the color correctly. To do so, we are going to use the Eyedropper tool .
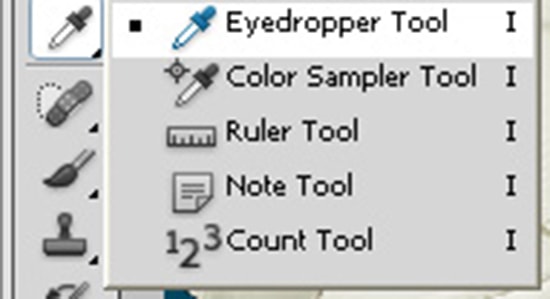 After we have chosen it, we can click anywhere on the image that we want to copy the color from.
After we have matched the color, we are going to use the Paint Brush tool on the left hand side in the tool bar.

You can change the setting of the Paint Brush, from the size to how soft/hard the brush is. All of those options are up on top.
Once you change the size to better fit where you want to put the brush, you can begin painting over the marks that you want to get rid of.
Find your Folder and then open your zentangle image.
Awesome! You have your image up and ready to edit!
The first thing we are going to do is Crop the image.
The Crop tool looks like a square with a diagonal line through it.
When using the Crop tool, you are making a box around what you want to keep. Now, lets crop our zentangle, getting rid of everything the outside of the box we drew in. When done making your crop, click ENTER or the Check Mark on the top right of the screen.
_ _ _ _ _ _ _ _ _ _ _ _
Before we paint anything though, we need to make sure we match the color correctly. To do so, we are going to use the Eyedropper tool .
After we have chosen it, we can click anywhere on the image that we want to copy the color from.After we have matched the color, we are going to use the Paint Brush tool on the left hand side in the tool bar.
You can change the setting of the Paint Brush, from the size to how soft/hard the brush is. All of those options are up on top.
Once you change the size to better fit where you want to put the brush, you can begin painting over the marks that you want to get rid of.


Comments
Post a Comment